Trivial Static Site Hosting with Hugo and GCS
I recently transitioned my site from my own hosting to Google Cloud Storage site hosting, and removed a variety of self-managed steps (and some cost) out of the process of running it. I’ll share my experience here and hopefully provide a roadmap to my particular combination of pieces and parts that is useful to others.
I’ve had my own hosted servers for years from a variety of different platforms, and throughout those years I’ve always had my own site there. As the years progressed I’ve pared away complexity, moving from Drupal to Wordpress to Jekyll to Hugo. Most recently I decided it was time to simplify again.
Over the years, the stuff I’ve hosted on my own server has reduced. If I need a “real” server, I generally grab something from Google Cloud or similar to host or do the work I want. At this point, the only concerns on my server are pretty much (1) my site (2) my own private Git repositories, and (3) a place to run hugo on a Git receive-hook. All of this is pretty redundant now:
- Static site hosting options are ubiquitous, cheap, and fast
- Microsoft opened unlimited private Git repositories on Github
- There are a variety of ways to integrate with Github hooks
- Self-Hosting Git can be a pain
- Many solutions exist for running Hugo, including things like Github Pages
After reviewing several options, I chose to migrate to Google Cloud Storage Website Hosting, as it provided me all the tools I need, and gave me a very easy path to more sophisticated options.
At its core, Google Cloud Storage is cloud “object” storage: highly available, fault tolerant file storage. However, Google has added a thin layer that lets it serve files over HTTP as a website.
Setting up the Bucket and DNS #
The mechanism is quite simple to setup:
- The bucket has to be named to match a domain name
- The domain name must be verified to the bucket owner (which, if hosted at Google Domains is automatic)
- The owner must add a DNS CNAME entry for a domain name to point to
c.storage.googleapis.com(direct traffic to Google) - A couple permission and configuration details must be set on the bucket
When Google receives an HTTP request for that domain at their servers, they will automatically host the files over HTTP on your behalf - voila!
Making the GCS bucket is the first step, and doing so for hosting a site is well documented here. However, I’ll share my specific experiences:
First, my DNS does have an entry like this:
NAME                  TYPE     DATA
www.reajenius.com     CNAME    c.storage.googleapis.com.
(This is actually a complete and utter lie, but this would’ve worked fine… more on this later)
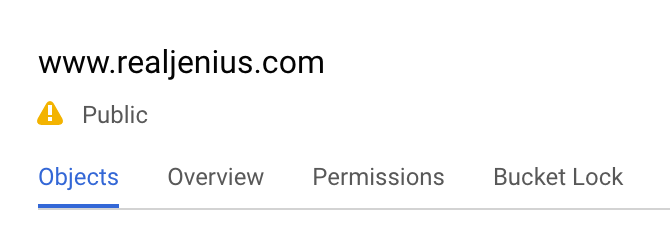
Next, I created a bucket that has all of my static files (the finished Hugo site):
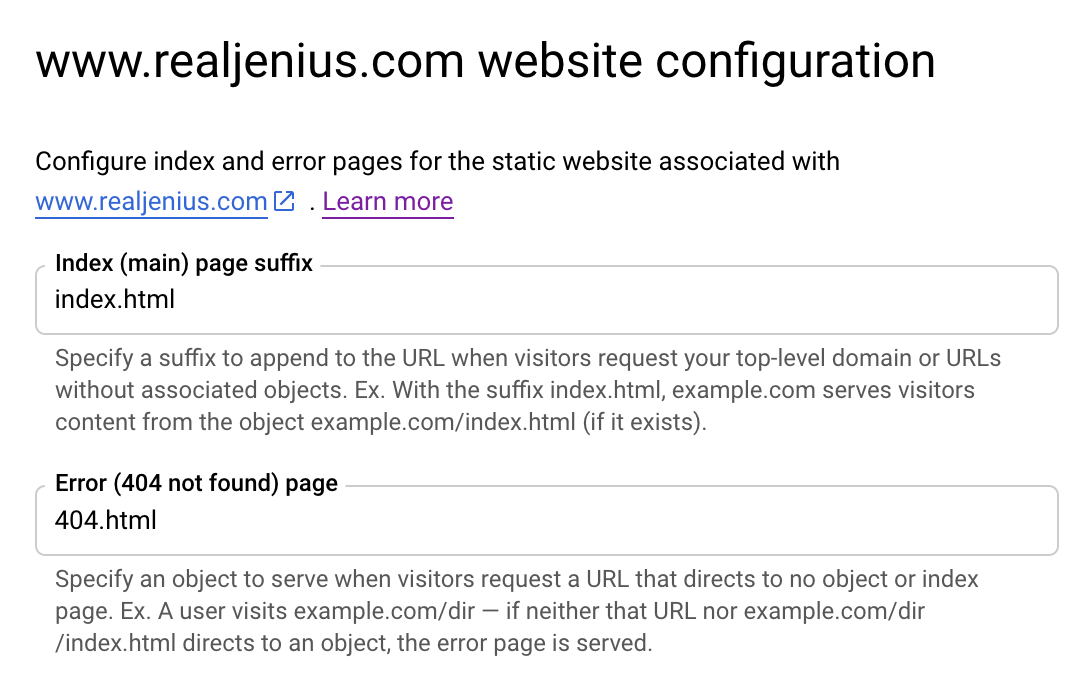
I also pointed the “Website Configuration” properties to the appropriate files for index and error edge cases:
Finally, I opened file access up as public for the entire bucket:

This is all that is required to actually test and try a static site. I recommend if you’re moving a site and want to verify it’s working, put an HTML comment or similar in the file to make sure the file is coming from GCS.
What About Running Hugo? #
The other big part of making my site effective is actually building it from source with Hugo.
For this, Google has another tool that is very useful: Google Cloud Build. Cloud Build is Google’s solution for CI/CD against their own Cloud, and works by organizing build steps which, by and large, are composed of various Docker image executions.
One of the major advantages of a cloud build is that it is pre-authenticated and runs within the sandbox of your project’s cloud. As a result, all of the various tools are available to interact with cloud resources.
For my case, this boils down to two simple steps: (1) Invoke Hugo on my source, and (2) Sync/Copy files to my storage bucket.
Hugo Build Support #
For the Hugo build, it turns out there is a community Hugo Cloud Build contribution, and it is extremely simple. All it does is setup a distroless/cc Docker image with the “hugo” executable as the entrypoint. Recursively, they have provided a cloudbuild configuration that will build this docker image for you (using cloud build on your own project) and automatically upload it to your Google Cloud Repo for docker:
gcloud builds submit . --config=cloudbuild.yaml
This pushes the hugo executable docker image up to gcr.io/${PROJECT_ID}/hugo, making it accessible to whatever you need (including your site cloud build configuration).
Copy Files Into the Bucket #
Once Hugo has done its job, the other thing that is needed is the ability to copy contents to the completed process up into the bucket of choice. Out of the box Google provides gsutil (one of the gcloud command line tools) to Google Cloud Build. This makes it trivial to move a pile-o-stuff into a storage bucket, syncing differences.
Making the Build Happen #
After building and publishing the Hugo docker image for the version you care about, it’s just a matter of referring to it in your own cloud build - for my case, here is my entire site’s cloudbuild.yaml configuration file:
steps:
- name: gcr.io/$PROJECT_ID/hugo
- name: gcr.io/cloud-builders/gsutil
  args: ["-m", "rsync", "-r", "-c", "-d", "./public/.", "gs://www.realjenius.com"]
In short, two steps:
- Run Hugo (no command line customizations needed) –
$PROJECT_IDis available as the project that build is currently running in, so make sure you previously built hugo to thegcrrepo for your current project! - Run the
gsutilcommand:
-mmulti-threaded – push files fasterrsyncmanages file differences at large scale (vscopy)-rmeans recursive - we want to move nested files and scan all directories-cmeans use checksum instead of mtime for file differences - this is useful since Hugo (and most static site generators stomp all over mtimes)-dmeans delete files that are not in the source - we want this, but be careful - your source better be right or your destination will be hosed.
This use of gsutil is also documented here for the curious (though it doesn’t talk about Hugo).
Triggering on Commit #
Finally, we just need our build to actually have access to our source and be triggered on commits. For my purposes, I just set up Google Cloud Build to listen to a specific branch of my repository:
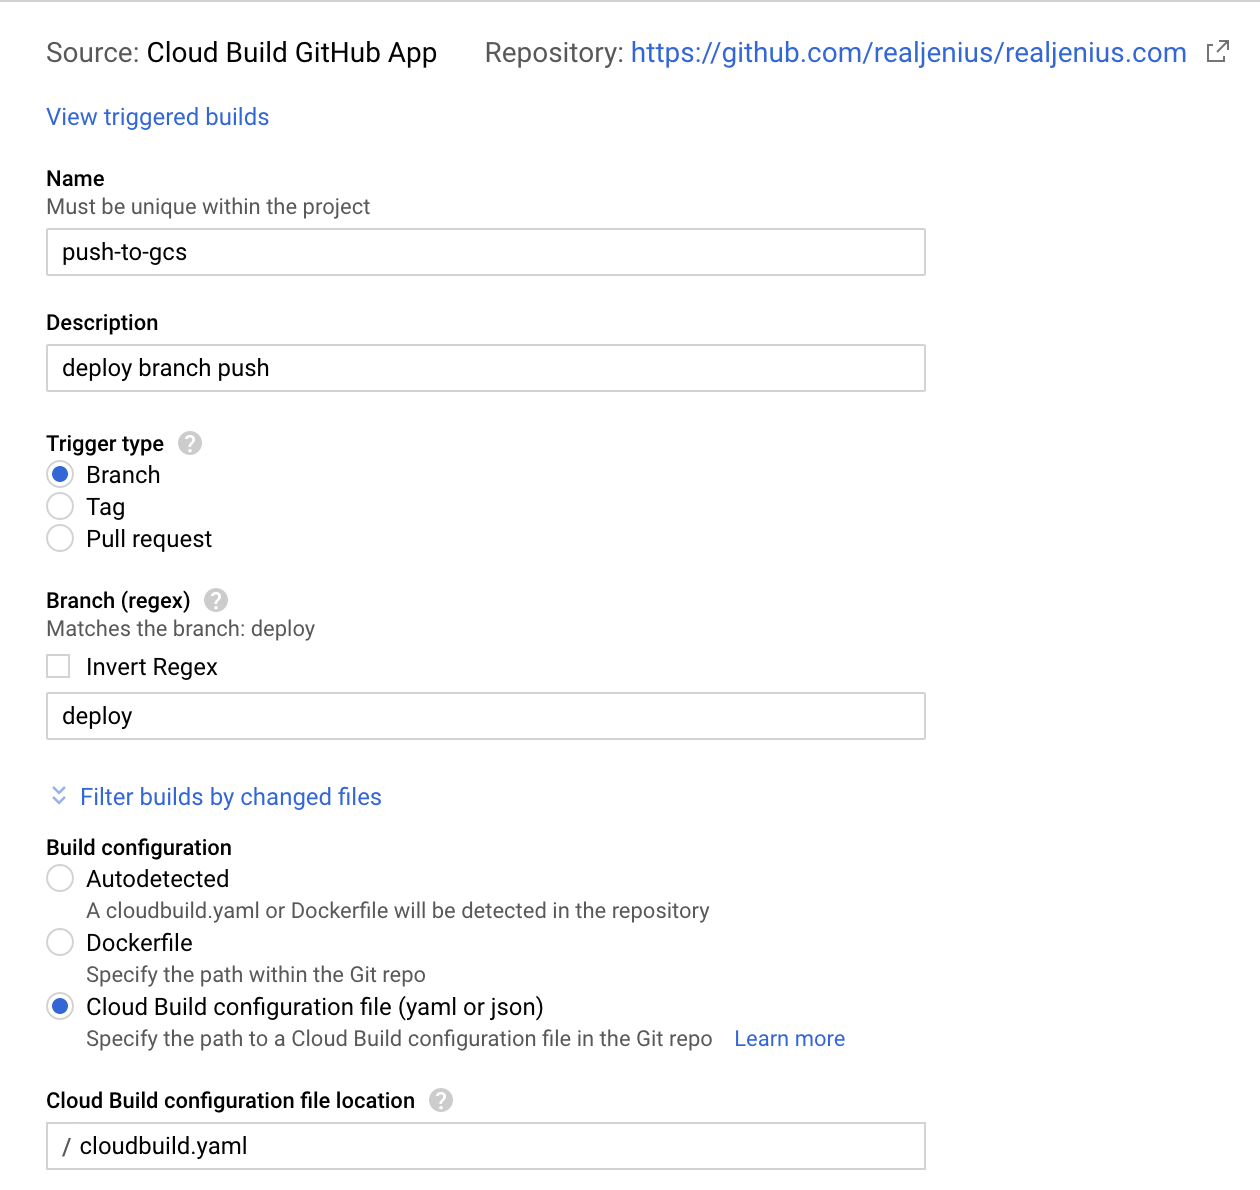
This configuration does a few things:
- Connects to my Github repository
- Watches for new commits on the
deploybranch - Upon receiving one, runs the
cloudbuild.yamlconfiguration
The history page of Cloud Build will let you browse every build and execution:

What About TLS? #
Google Cloud Storage does not support TLS/HTTPS – but thankfully there is a two-in-one option available in the wild for this very thing.
CloudFlare has been in-front of my site for years, and it provides a bunch of benefits in the free platform:
- Free caching/proxying of sites - This gives me significant reduction of egress on my storage bucket
- Free TLS - Cloudflare can not only give you TLS for your site, but also ensure always-HTTPS redirects are applied
- General Attack Protection and Thread Mitigation
- DDOS protection
- URL Re-writing Tools (in case I rearrange things)
- Minification and Optimization tools (further optimize site footprint)
This is why I said that my DNS configuration was a bit of a lie. My DNS does not point directly to Google Cloud Storage - instead, it points to CloudFlare which then internally proxies to Google Cloud Storage:

We can see this via something like nslookup:
❯❯❯ nslookup www.realjenius.com
Server:		192.168.86.1
Address:	192.168.86.1#53

Non-authoritative answer:
Name:	www.realjenius.com
Address: 104.28.25.49
Name:	www.realjenius.com
Address: 104.28.24.49
Those IP addresses are CloudFlare IPs. If I were running on Google directly it would look something like this:
❯❯❯ nslookup www.realjenius.com
Server:		192.168.86.1
Address:	192.168.86.1#53

Non-authoritative answer:
www.realjenius.com   canonical name = c.storage.googleapis.com.
Name:	c.storage.googleapis.com
Address: 172.217.4.208
Biggest Caveat: No Root Domain #
Likely the biggest caveat to me is the lack of support for root domains due to using CNAME as the path for traffic direction. This basically means my site has to be at www.realjenius.com instead of realjenius.com. In the end as long as I have good permanent redirect support (which I do with CloudFlare) it’s worth the price.
Summary #
In the end it took about twenty minutes to set all of this up, reconfigure my DNS, and eliminate a lot of things I had to manually manage myself. Not bad for an evening of effort!